


A highway sign project can shape how drivers identify a destination, understand an entrance, and move safely through a commercial property. For owners, developers, municipalities, and facilities teams in North Carolina, planning starts with the site, intended message, approvals, and installation conditions. A clear project brief helps the sign manufacturer coordinate design, engineering, permitting, fabrication, and installation as one connected effort.
Request a project consultation
What should a highway sign accomplish?
Begin with the decision the sign needs to support. A sign near a roadway might identify a business, campus, medical facility, industrial site, or multi-tenant property. It may also help visitors locate an entrance or distinguish one driveway from another. Those functions affect size, placement, message hierarchy, lighting, and the relationship between the sign and other wayfinding elements.
Describe the audience and the moment when the sign should be useful. A driver approaching at speed needs a concise message and enough time to recognize it. A visitor already inside the property may need directional information instead. Avoid asking one sign to carry every message. A coordinated system can use an exterior identity sign for recognition and directional signs at decision points.
- Identify: State the organization, destination, or property clearly.
- Orient: Make the correct entrance or site location easy to recognize.
- Direct: Use additional wayfinding signs where visitors must choose a route.
- Reinforce: Keep sign design consistent with the organization’s established identity.
For a property with multiple buildings or tenants, map the visitor journey from the public road to the final destination. A guide to outdoor sign approaches can help teams consider how freestanding and building-mounted signs contribute to visibility.
Turn the purpose into a short design brief. State the primary name or destination, the audience, the approach direction, and the action a visitor should take next. If the sign must serve several audiences, rank their needs instead of giving every message equal prominence. For example, a medical campus may need the campus name to be recognizable from the road, while emergency, visitor, and staff routes are handled by separate signs once vehicles enter the property.
Set a measurable project objective without promising a particular outcome. The team might ask whether drivers can identify the entrance early enough to make a safe turn, whether a visitor can distinguish the main building from a secondary facility, or whether tenants receive a consistent level of identification. These questions help reviewers judge a design against its intended use rather than personal preference alone.
How should the team assess the site?
Review the approach from each direction that matters. Note road geometry, speed environment, distance from the roadway, grade changes, landscaping, buildings, trees, and existing signs. Record where a driver first sees the property and where a decision must be made. Site photographs taken from several approaches can help a design team understand actual viewing conditions.
Also document practical constraints. These can include underground utilities, overhead lines, drainage, access for installation equipment, pedestrian paths, and the distance between the sign and the property boundary. Do not assume a proposed location is buildable just because it appears open. Site conditions and local review may change what is feasible.
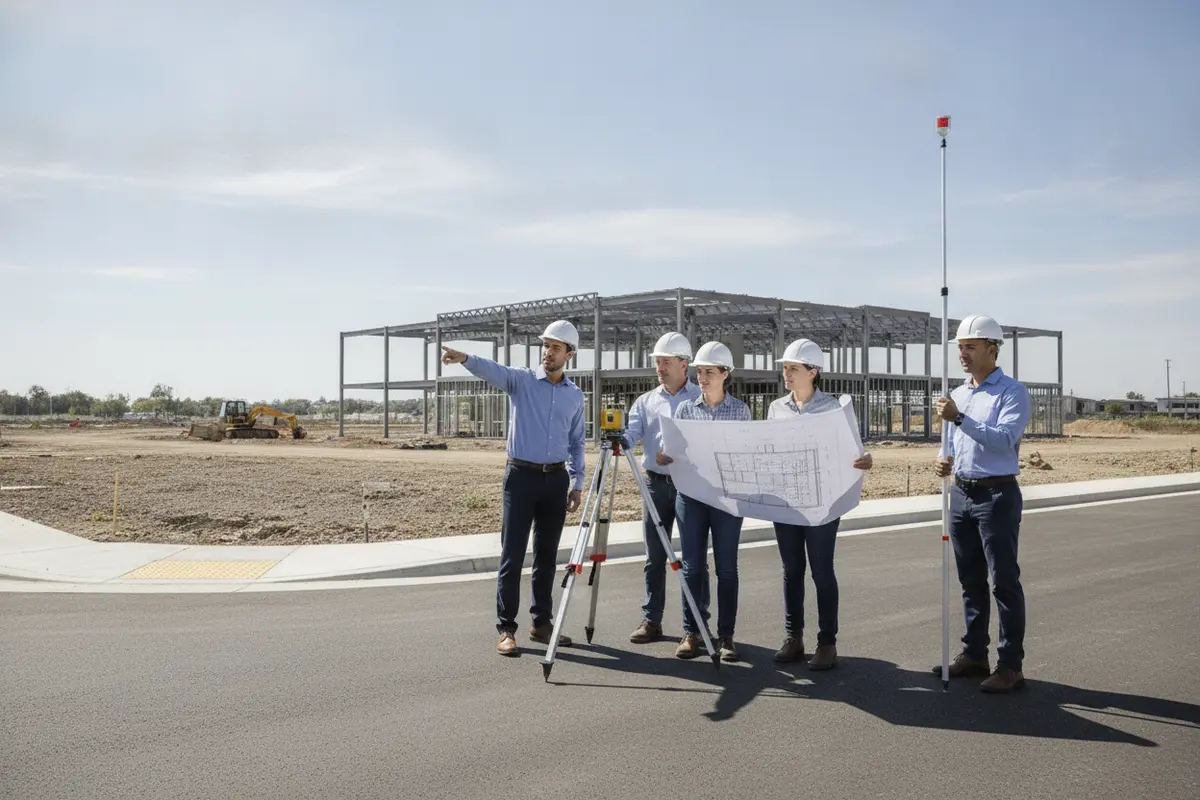
For each proposed location, capture:
- Street address and parcel or site plan reference.
- Photos facing the approach from both travel directions, where relevant.
- Approximate viewing distance and any sightline obstructions.
- Available space, grade, access, and known utility constraints.
- Nearby signs and any visual standards the property must follow.
These details help the project team compare possible locations before design decisions become difficult to reverse. They also support conversations with the property owner, architect, civil engineer, and permitting contacts. Add a simple site observation log: date of visit, time, weather, direction of approach, and what blocks or competes with the proposed sign. If foliage changes seasonally or construction is underway, record that as well. A single photograph can be misleading; a set of views tied to a site plan gives reviewers a more useful basis for discussion.
Separate observed facts from assumptions. A team can mark a tree as a current obstruction, for instance, but should not assume it can be removed or trimmed without permission. Likewise, a drawn sign location is only a concept until property lines, access, utilities, and applicable requirements are checked. Label uncertain dimensions and field conditions so the designer knows what must be verified before final engineering.
Where practical, assess the location at more than one time of day. Sun angle, shadows, operating hours, traffic queues, and adjacent property activity can change what is visible. Note whether a driveway backs up near the proposed sign or whether parked vehicles could obscure it. These observations do not replace engineering or official review. They help the project team ask more specific questions and avoid designing from an incomplete view.
Which sign approach fits the property?
There is no single format suitable for every roadside condition. The right approach depends on visibility needs, property context, permitted dimensions, structural requirements, and how information will be maintained. A freestanding sign may serve a broad site identity role, while illuminated channel letters can identify a building or tenant. A digital display can support changing messages, but it also requires planning for electrical service, content operations, and applicable restrictions.
- Freestanding identification: Consider where a site needs a distinct identity visible from a roadway or entrance.
- Tenant identification: For a multi-tenant property, plan how names and panels will remain legible and manageable as occupancy changes.
- Building-mounted identity: A building sign can reinforce the destination once visitors are closer, but it may not solve roadside orientation alone.
- Digital message display: Assess whether changing content serves a real communication need and whether operating requirements can be supported.
Compare the choices against function, not just appearance. A freestanding sign solution may be appropriate for a property identification goal, while LED signage introduces specific electrical and content considerations. The business sign options should support the site’s actual visitor needs and brand standards.
Materials and finish choices should be evaluated in context. Consider exposure to sun and weather, cleaning access, the expected life of the message, and how easily components can be serviced. A finish that looks appropriate in a rendering should also work with the surrounding architecture and the property’s maintenance capacity. Ask the design team to identify which elements are fixed and which can be updated, especially where tenant names or operating information may change.
A useful comparison considers the whole sign system, not isolated objects. A freestanding sign may establish identity but still require directional signs at a fork in the internal drive. A building sign may be prominent for pedestrians yet difficult to see from an approach road. A digital display may allow timely updates, but only if an owner is assigned to prepare and approve messages. Write down these trade-offs so the team can decide what the site actually needs.
Review brand standards early. Confirm approved colors, typography, logo usage, clear space, and rules for tenant co-branding. If the property has several buildings or locations, define which elements must be consistent and which can respond to local conditions. That distinction prevents a late-stage debate about whether a proposed variation is a design exception or a necessary response to the site.
How can the team compare project options?
Use a documented comparison to expose trade-offs early. The table below is a planning framework, not a claim that one option will be approved at a given site. Final requirements depend on site conditions and the authorities reviewing the project.
| Planning option | Potential role | Questions to resolve |
|---|---|---|
| Freestanding identification sign | Identify a property or destination from an approach road | Where can it be located? What structural and foundation design is needed? |
| Tenant sign system | Organize identification for multiple occupants | How will panel sizes, hierarchy, and future tenant changes be managed? |
| Building-mounted sign | Confirm identity at the building | How do mounting conditions, visibility, and electrical needs affect design? |
| Digital display | Share changing messages where permitted and operationally useful | What electrical, content-management, brightness, and operating constraints apply? |
For a useful comparison, score each alternative against the same criteria instead of letting one attractive concept dominate the conversation. A team might record visibility from the approach, clarity of the primary message, compatibility with site constraints, approval uncertainty, operating needs, and future flexibility. Add a notes column for assumptions that still need confirmation. This helps procurement and facilities teams distinguish a genuine design preference from a condition that may affect feasibility.
Include lifecycle responsibilities in the comparison. Ask who will change tenant panels or digital content, who will arrange repairs, whether electrical access is available, and how work can be performed without disrupting site operations. These questions do not require a final maintenance contract at concept stage. They do ensure that a chosen format can be supported after installation.
For a multi-tenant development, compare the sign program from the perspective of both the property owner and each tenant. The owner may prioritize a consistent appearance and a manageable panel system. Tenants need their names to be identifiable within the hierarchy. Document the rules for panel proportions, ordering, colors, and change requests before the first tenant move-in. A written standard reduces disputes when occupancy changes.
For a single organization with several facilities, consider whether a repeatable sign family can serve each location while accommodating different site footprints. A standard can specify logo placement, materials, illumination approach, and construction details, while a location-specific plan handles setbacks, visibility, and local review. This creates a clear baseline without assuming every site has identical conditions.
What approvals and technical details belong in the plan?
Approval requirements vary by location and project conditions. Confirm the responsible jurisdiction and review process before setting a final schedule. A project may require sign permits, zoning review, landlord or campus approval, engineered drawings, utility coordination, or other documentation. Do not rely on an assumption that a nearby sign establishes what is allowed for a new installation.
Ask early who will coordinate each approval and what information reviewers need. The project brief should identify the property owner, site address, proposed location, sign type, approximate dimensions, illumination approach, and any existing drawings. A manufacturer or installer can help organize technical inputs, but the project team should verify applicable requirements with the relevant authorities.
Structural and electrical decisions are linked to the design. Sign area, support method, wind exposure, foundation conditions, attachment surfaces, and electrical routing can influence engineering and construction. For illuminated signs, clarify the power source and who is responsible for electrical connections. For a project with multiple disciplines, clear responsibility assignments reduce gaps between design intent and field execution.
Public project teams may find the North Carolina Department of Public Instruction’s project planning resource useful for understanding that school project planning involves programmatic and planning assistance. It is not a sign-code reference; confirm signage requirements with the relevant reviewing authority.
Build a responsibility matrix for approvals and technical inputs. Name the person who gathers property authorization, the person who contacts the jurisdiction, the party supplying engineering documents, and the lead tracking reviewer questions. For a multi-site program, use a separate row for each location because local processes and site conditions may differ. Keep versions of drawings and approval correspondence together so a late design adjustment does not leave the installer working from superseded information.
Before releasing a design for production, confirm that the sign location, dimensions, message, illumination, finish, and mounting or foundation assumptions match the approved plan. Changes after review can affect permits, engineering, electrical coordination, or production details. A written sign-off checkpoint gives stakeholders a chance to resolve conflicts before materials and installation dates are committed.
At kickoff, create a document register. List the current site plan, sign drawings, engineering documents, approvals, utility information, and decision log, with an owner and revision date for each. This simple register is particularly helpful when the architect, owner, contractor, sign team, and local reviewer are working from different systems. Make clear which version is current and how superseded documents will be marked.
Allow for review questions in the schedule. Instead of treating an application date as the end of permitting, identify who will respond to comments and who can authorize a design change. If a reviewer requests a revised location or dimension, the project lead can trace the effect on structural design, electrical planning, fabrication, and the installation window. The schedule should reflect dependencies, not just a list of target dates.
How should the project be sequenced?
A practical sequence brings decisions forward while leaving room for review and technical coordination. The exact schedule depends on project scope, approvals, site readiness, and fabrication needs.
- Define the brief. Identify the audience, sign purpose, brand standards, locations, stakeholders, and desired completion window.
- Review the site. Gather plans, photographs, measurements, access notes, and known utility information.
- Develop and compare concepts. Evaluate sign types, message hierarchy, materials, illumination, and consistency with the broader property.
- Confirm feasibility and approvals. Identify jurisdictional reviews, owner approvals, engineering inputs, and documentation needs before release.
- Finalize engineering and production details. Coordinate dimensions, attachment or foundation design, electrical scope, finish selections, and quality checks.
- Plan installation. Confirm access, site readiness, equipment needs, work windows, safety coordination, and communication among stakeholders.
- Close out and maintain. Record final details, operating information, and a process for service or future changes.
One accountable project lead can help connect these stages. Carolina Signs and Wonders provides design, engineering, fabrication, installation, and service capabilities; review its signage services to understand the broader project scope. Teams managing work across locations can also consider commercial sign installation coordination as part of planning.
At project kickoff, agree on a decision log and communication rhythm. Record who approves design, who owns permitting questions, how field conditions will be escalated, and where current documents live. For construction projects, align sign milestones with paving, landscaping, electrical work, and building completion where relevant. This does not eliminate schedule uncertainty, but it makes dependencies visible early enough for the team to respond.
Installation readiness deserves its own review. Confirm that the location is accessible, the work area can be secured, equipment can reach the site, and any required utility or electrical work is coordinated. Identify site contacts and operating constraints such as visitor hours or active loading areas. After installation, agree how the team will verify the finished work against the approved design and document any remaining closeout items.
Make the handoff between design and field teams explicit. Review the approved drawings, site access plan, equipment requirements, utility conditions, and the person authorized to answer questions during installation. If field conditions differ from the plan, establish a process for pausing, documenting the issue, and obtaining a decision before proceeding. This protects the approved intent and reduces confusion among trades.
For projects attached to active construction, include the sign in coordination meetings at appropriate milestones. The sign team may need confirmed foundation locations before concrete work, electrical coordination before finishes are closed, or clear access after landscaping. The project manager should identify these dependencies on the master schedule and communicate changes promptly. A sign package can be ready on paper while the site remains unprepared, so schedule readiness and physical readiness should be tracked separately.
How can the sign remain useful over time?
Plan for upkeep and change when selecting the sign system. Weather exposure, illumination components, landscaping, tenant turnover, and changes in traffic patterns can all affect long-term performance. Specify who will inspect the sign, how service requests will be routed, and whether replacement parts or message updates need to be coordinated.
For a multi-tenant property, decide how new occupants will be added without disrupting the sign’s overall hierarchy. For an organization with multiple sites, document approved layouts, colors, materials, and installation standards so local teams can maintain a consistent identity. A sign repair planning guide can help facilities teams think through maintenance responsibilities.
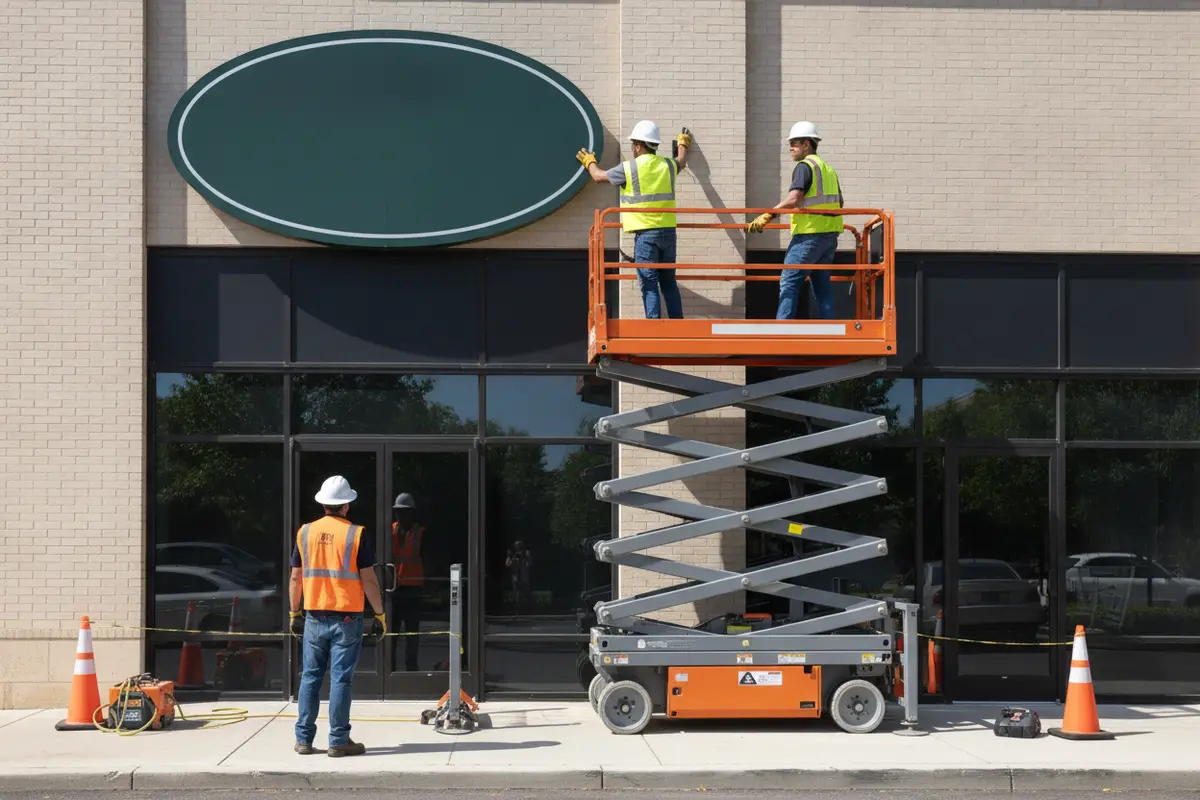
A maintenance record can include the sign location, type, installation date, approved drawings, electrical details, service contacts, and any known access restrictions. Schedule visual checks in a way that fits the property’s operations, and note issues such as damaged components, illumination outages, loose finishes, or vegetation that has grown into sightlines. When a tenant or message changes, update the record and verify that the revised information still follows the sign program’s standards.
For organizations with multiple locations, a central owner can maintain approved sign standards while local facilities teams report site-specific conditions. This creates a practical balance: the identity remains consistent, while installation and maintenance decisions can account for each property. Make sure the service process identifies how urgent concerns are reported and who authorizes follow-up work.
Plan access for routine service as part of the initial design discussion. A sign located where service equipment cannot safely reach it may complicate inspection or repair. Confirm whether nearby landscaping, parked vehicles, gates, or site operating hours could limit access. Record any special procedures for entering the property, coordinating with security, or keeping visitor routes open during work.
For a digital display, assign responsibility for content approval and account access before installation. Define who can prepare messages, who reviews them, how often they may change, and what to do if the display needs attention. For a static multi-tenant panel, define how a tenant requests an update, who approves the artwork, and how the property keeps its records current. Operational decisions are part of the sign program, not an afterthought.
What information should be ready before requesting a quote?
A consultation is more productive when the team can share the project’s purpose and constraints. Gather available materials, even if some details are preliminary:
- Property address, owner or decision-maker, and project stakeholders.
- Site plan, architectural drawings, photos, and desired sign locations.
- Primary audience, message, brand standards, and any tenant requirements.
- Known approval steps, deadlines, site access limits, and construction coordination needs.
- Preferred sign functions, illumination needs, and plans for maintenance or future changes.
Carolina Signs and Wonders works on custom, consultation-based projects. The project portfolio offers examples of completed signage work, and the company overview explains its capabilities. Share the available project information to start a focused discussion.
A useful initial request does not require every technical answer to be settled. Mark what is confirmed, what is under review, and what the project team needs help evaluating. Include a decision-maker and preferred contact for follow-up, along with any known procurement or site-access process. If the project involves several locations, attach a location list and identify which sites are priorities. This gives the project team a clearer basis for discussing scope and next steps.
Request a consultation for your sign project
Frequently Asked Questions
What is the first step in planning a highway sign?
Define the sign’s purpose, audience, and location. Then document site conditions and confirm which owner and jurisdictional approvals may apply before committing to a design.
Does every roadside sign need the same permit?
No. Requirements depend on the site, sign type, property conditions, and applicable authorities. Confirm the process for the specific location with the relevant reviewing agency and property owner.
Should a project use one large sign or several signs?
That depends on the visitor journey. A primary sign can identify a destination, while separate directional signs may help visitors navigate choices after entering the property. Map decision points before selecting a system.
When should engineering be considered?
Consider structural and electrical requirements during early design, not only after a sign concept is selected. Dimensions, mounting or foundation conditions, illumination, and site constraints can affect feasibility and schedule.
A well-planned highway sign connects visibility, approvals, engineering, and installation to the way people use a site. A clear brief and coordinated project team give decision-makers a stronger foundation for a durable, consistent result.


