


Corporate rebranding signage turns a brand transition into a visible change across buildings, campuses, and customer-facing spaces. A successful program starts with more than new artwork: it connects brand standards to site conditions, approvals, fabrication, and installation at every location. This guide outlines how to scope that work and keep decisions consistent from the first survey through closeout.
Request a corporate rebranding consultation
What should corporate rebranding signage accomplish?
In brief: A rebrand signage program should make each location clearly identifiable, reflect approved brand standards, and fit its physical and regulatory conditions. Define those outcomes before selecting sign types or setting rollout dates.
Start by translating the brand transition into practical requirements. Decide what must be consistent across the portfolio, what may adapt to each site, and what needs to be removed or updated. A corporate identity change may involve exterior identification, directory and wayfinding systems, lobby signs, room identification, and digital displays. Not every location needs every element.
Bring the right decision-makers into the initial scope: brand and marketing leaders, facilities, operations, procurement, property managers, architects, and local site contacts. For leased properties, include the landlord or property representative early. Their review can affect sign locations, attachment methods, approved materials, and installation access.
A useful scope states the intended experience and operational needs. For example, a headquarters entrance may need prominent identification and visitor direction, while a regional office may need a smaller exterior sign plus consistent interior wayfinding. Make the requirements measurable where possible: approved logo versions, color references, viewing conditions, locations to be signed, and accessibility considerations.
How should a team audit existing locations?
In brief: Build a location-by-location record of existing signs, site constraints, approvals, and required changes. A verified site record prevents design decisions from relying on assumptions or outdated drawings.
For each address, create a site file that captures the current sign inventory and its condition. Record approximate dimensions, mounting surfaces, illumination, power access where relevant, sightlines, pedestrian and vehicle approaches, and any known access limitations. Photograph each sign from useful viewing angles. Note whether it is on a building, monument structure, interior wall, or directional route.
Then identify dependencies. Is the property occupied during the work? Does the sign face a public street? Is the building part of a campus or managed property? Are there existing electrical connections or structural details that need review? Have prior permits, landlord approvals, or construction drawings been located? Flag unknowns for validation instead of treating them as confirmed conditions.
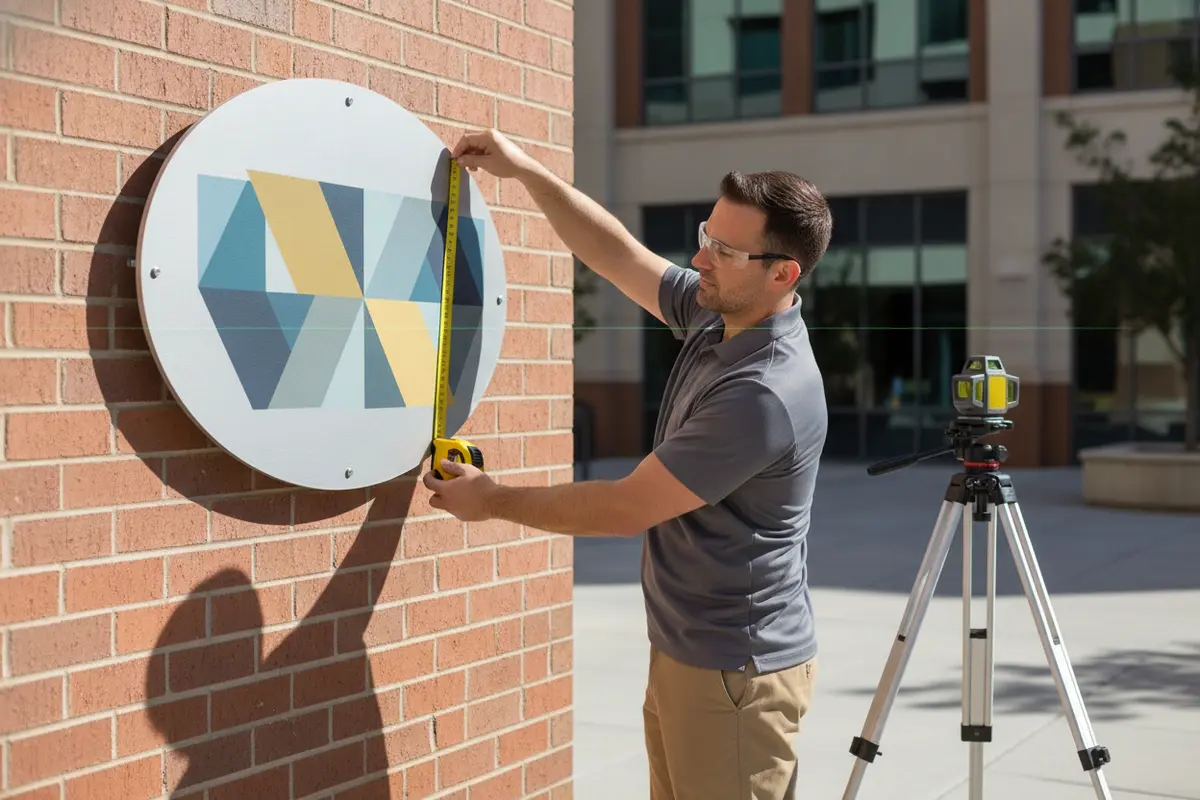
For a multi-location program, use one shared survey template. Standard fields make it easier to compare locations and identify exceptions. Include a site owner, survey date, photo references, proposed sign scope, approval status, and open questions. Keep source files and decisions in a controlled project record so design, procurement, and installation teams work from the same information.
Where additional corporate business signs are part of the program, connect the site survey to the broader sign system rather than treating each building element as a separate purchase. A consistent project brief helps the team assess the full scope and coordinate the work.
Which decisions should the brand standard settle?
A rebrand creates pressure to move quickly, but issuing artwork before setting production rules can create avoidable revisions. Establish an approved sign family and define where each option belongs. Your standard can cover logo proportions, clear space, colors, typography, illumination, material appearance, mounting approach, and how the brand lockup is adapted for different sign formats.
Separate fixed standards from permitted adaptations. Fixed items might include the approved logo artwork and required color values. Adaptable items might include sign dimensions or mounting details that must respond to a building. Document who can approve an exception and what evidence they need, such as site photographs, a marked-up elevation, or a sample rendering.
Review legibility and use, not just the design file. Consider the viewing distance, background, lighting, approach route, and likely users. For interior identification and wayfinding, account for accessibility and the actual route a visitor needs to follow. The U.S. Department of Justice provides information on the Americans with Disabilities Act at ADA.gov; project teams should use applicable requirements and qualified review for their specific sites.
For a deeper look at how signs work together, compare the proposed family with the company's signage services and relevant project examples. The goal is not to copy another property. It is to confirm that design intent, fabrication details, and site requirements can be brought together in a dependable system.
How can the team compare signage options?
Compare options by application and project requirements, not by appearance alone. A sign that works at one site may not suit another because of visibility, architecture, access, or approval constraints. The following table is a planning tool; final specifications depend on site review and project scope.
| Sign application | Useful for | Key planning questions | Typical coordination needs |
|---|---|---|---|
| Illuminated building identification | Prominent identification at a building entrance or facade | What are the viewing conditions, mounting surface, and illumination needs? | Site measurements, structural and electrical review where applicable, property approval, permits |
| Monument or freestanding identification | Identifying a campus, office, or facility from an approach road | Where can the sign be seen, and what local site restrictions apply? | Property and jurisdiction review, foundation and utility coordination, access planning |
| Interior directories and wayfinding | Helping visitors navigate a building or campus | What decisions and destinations must be clear along each route? | Route audit, accessibility review, content approval, coordination with interior finishes |
| Digital display | Communicating changeable information at selected locations | Who manages content, power, placement, and long-term updates? | Electrical and network planning, content ownership, service and maintenance planning |
- Exterior identification: Validate visibility, attachment, illumination, and site approvals before finalizing the design.
- Interior wayfinding: Map visitor routes and destinations first, then define sign placement and content.
- Digital displays: Decide who owns content and ongoing operation, not only the physical screen.
- Mixed sign families: Document the design rules that make different formats read as one organization.
Each option should have a defined role, approved artwork, site information, and a path to review. For example, a brand color can remain constant while material and mounting details vary to suit different buildings. That distinction keeps the program recognizable without forcing a single construction approach onto every property.
What approvals and technical reviews should be planned?
In brief: Treat permitting, property approval, engineering, and electrical review as project workstreams with named owners. Requirements differ by location and site, so confirm them for each address rather than assuming one approval covers the portfolio.
Build an approvals matrix that identifies the approving party, required documents, submission status, and decision date for every site. Depending on the project, reviewers may include the local jurisdiction, property owner, landlord, campus authority, or design team. Some locations may require additional technical details, while others may need only a limited review. Confirm the applicable process directly with the responsible authority.
Coordinate technical review with the sign design. Attachment details, sign size, illumination, electrical connections, and access for installation can affect drawings and sequencing. Involve qualified professionals when structural or electrical conditions call for their review. Avoid treating a visual rendering as a complete construction or permitting package.
Set a document-control process. Keep current artwork, elevations, specifications, approvals, and revision dates together. Mark superseded files clearly. Assign a person to confirm that vendor, property, and field teams are using the approved version. This small discipline reduces the chance of fabricating from an outdated design.
How should fabrication and installation be coordinated?
Work backward from each location's installation readiness. A site may have approved artwork but still be waiting for access confirmation, a property review, utility information, or a permit. Establish status gates so that fabrication and scheduling move forward only when the necessary inputs are confirmed.
- Approve the design package. Confirm the site-specific layout, dimensions, materials, colors, and relevant technical details.
- Clear site and jurisdiction reviews. Track submissions and approvals by address; do not assume a common standard means identical approval.
- Confirm field readiness. Verify access, work windows, site contacts, safety requirements, and any dependencies with other trades.
- Release fabrication by approved scope. Match each production package to its location and controlled design revision.
- Schedule installation and closeout. Coordinate field teams, document completion, and record any remaining service items.
For a rollout, use a location tracker that shows a clear status, owner, next action, and blocker. Group sites by readiness or geography only when doing so improves coordination; avoid forcing every location into one schedule if approvals or field conditions differ. A dedicated project manager can help maintain communication among brand, facilities, property, permitting, fabrication, and installation stakeholders.
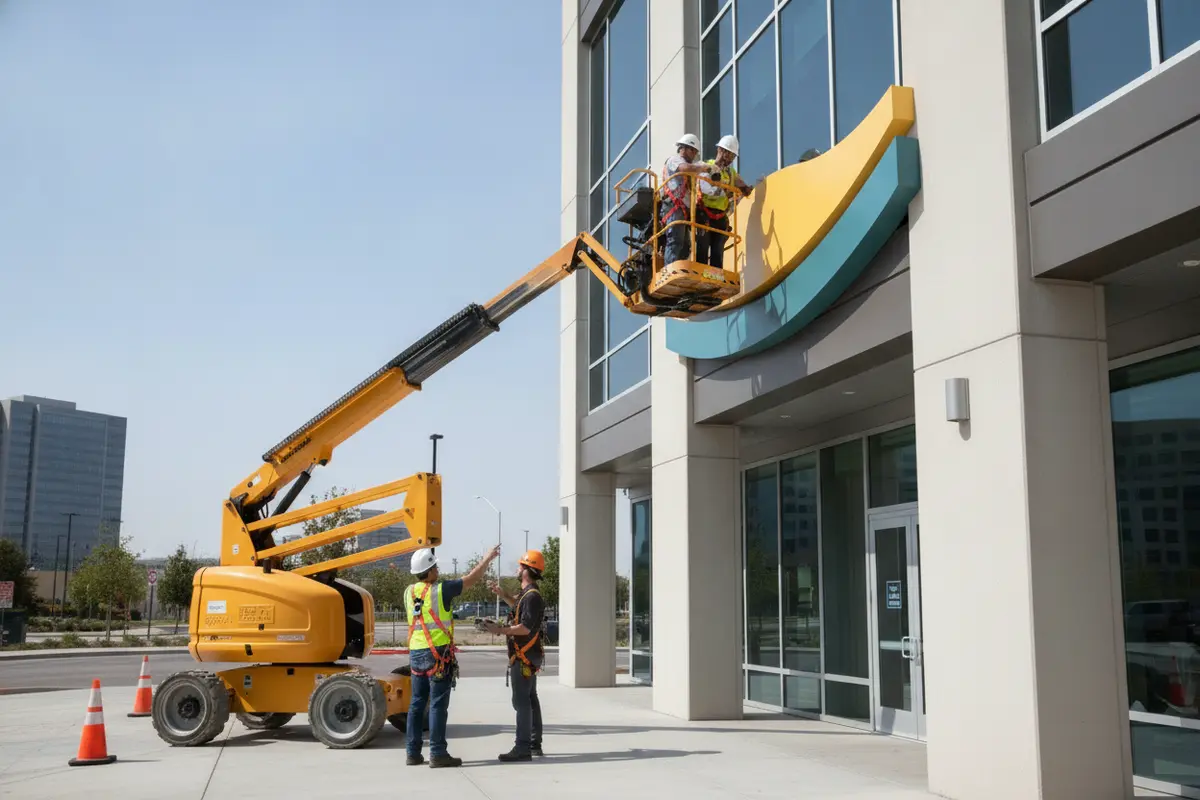
At closeout, retain installation records, approved drawings, permit documentation where applicable, and a list of any follow-up work. This information can support facilities teams when a sign needs service, a site changes, or a future phase begins. For broader project coordination, review the company's commercial sign installation capabilities and its LED sign options when relevant to the approved scope.
What should a multi-location rollout standardize?
Standardize the decisions that define the identity and the process that preserves it. Keep approved brand assets, sign families, specification templates, file naming, review roles, and change control consistent. Then allow documented site adaptations for architecture, visibility, jurisdictional requirements, or access.
Use a portfolio dashboard with one row per location. Helpful fields include address, site contact, sign types, survey status, design approval, property review, permit status, fabrication release, installation readiness, completion date, and open issues. Set definitions for each status so that “approved” means the same thing to brand, facilities, and project teams.
Plan how changes will be handled. If a field survey reveals a different mounting condition, pause the affected decision, record the evidence, and route the revision to the correct reviewers. Do not let a local adjustment silently alter brand elements or trigger untracked production changes. A controlled exception process supports both consistency and practical site-specific solutions.
For organizations managing multiple properties, the locations overview can help frame the service footprint, while a coordinated custom sign program can tie site-specific deliverables to an overall plan. Add ongoing service planning to the scope when the sign system needs support after installation.
What should a corporate rebranding signage brief include?
A useful brief lets a prospective project partner understand the brand transition, location count, decisions, and known constraints without implying that every site is identical. Include:
- Organization name, project sponsor, stakeholders, and approval roles.
- Brand transition objectives, approved artwork, and standards already available.
- Known locations and a preliminary list of existing signs to change or add.
- Site survey records, photographs, drawings, and property contacts where available.
- Required sign applications, visibility goals, accessibility considerations, and operational needs.
- Known permitting, property, construction, access, and schedule dependencies.
- Expected phases, decision dates, procurement requirements, and preferred communication process.
- Closeout, service, and documentation expectations.
Identify what is confirmed and what still needs investigation. This distinction helps a project team develop a realistic scope and identify early questions. If the locations are not all surveyed, note which assumptions need field verification before final design or production.
For a closer view of the questions involved in a project, the Charlotte service area page and business sign information can help teams start a focused discussion about the work. For broader portfolio planning, share the brief and current site records during a consultation.
Discuss your rebranding signage project
Frequently Asked Questions
When should a company begin planning signs for a rebrand?
Begin when the brand identity and rollout objectives are sufficiently defined to establish standards, but before locations are committed to final sign designs or installation dates. Early coordination gives the team time to survey sites, confirm property and jurisdictional review paths, and resolve technical questions.
Can one sign design work at every location?
A consistent sign family can support recognition, but individual sites may have different architecture, viewing conditions, access, and approval requirements. Establish fixed brand rules and a documented method for approving site-specific dimensions or construction adaptations.
What information helps scope a multi-location project?
Share the location list, existing sign inventory, brand standards, photographs or drawings, key stakeholders, known approvals, and desired rollout phases. Clearly mark missing information so the team can plan surveys and confirm assumptions.
Why coordinate design, permitting, fabrication, and installation together?
These activities depend on one another. Coordinated ownership helps keep approved artwork, site requirements, technical documentation, production releases, and field schedules aligned, reducing handoff gaps across a complex project.
How can your team move from a plan to a project consultation?
Start with the brand standards and location information you have, then identify what needs site verification. A scoped conversation can help clarify sign types, approvals, technical reviews, and the next decisions for a consistent corporate rebranding signage program.
Call to discuss your corporate sign project
With clear standards, verified site information, and accountable project coordination, a corporate rebrand can move from approved identity to a dependable signage system across locations.


