


Planning ADA compliant bathroom signs is an important part of a commercial facility project, whether you are building a new site, renovating restrooms, or updating signs across multiple locations. The sign itself is only one part of the decision. Teams also need to coordinate the sign message, accessible features, mounting location, wall conditions, finish, approvals, and installation sequence before fabrication.
Request a free quote to discuss your facility signage project.
This guide focuses on planning restroom identification signs for organizations and project teams. It is not a substitute for reviewing the applicable accessibility standards, building codes, or requirements from the authority having jurisdiction. For a broader wayfinding program, see our overview of compliant ADA signage and custom sign solutions.
What should ADA compliant bathroom signs help people do?
Restroom identification signs should help visitors recognize the correct room and understand its intended use. For a person who is blind or has low vision, tactile information and braille can provide information that a visual-only sign cannot. For other visitors, clear wording, contrast, and consistent placement help make the facility easier to navigate.
In brief: Plan restroom signs as part of an accessible route and wayfinding system. Confirm what each sign must communicate, how users will approach it, and which standards and local requirements apply before approving production artwork.
Under the ADA Standards for Accessible Design, signs identifying permanent rooms and spaces, including toilet rooms, are subject to accessibility criteria. Review the current federal information at the U.S. Department of Justice ADA website and confirm the requirements that apply to the specific project. A sign program may also be affected by state or local building codes, project specifications, and owner standards.
It helps to distinguish room identification from directional signs. A sign at a corridor junction may point visitors toward restrooms, while a sign at the restroom entrance identifies the room itself. A project may need both, but their content, placement, and accessibility requirements can differ. Do not assume that one sign type can perform every function.
Who should be involved before restroom sign designs are approved?
Bathroom sign decisions can touch accessibility, facility operations, construction, brand standards, and maintenance. Bringing the right people into review early reduces late artwork changes and installation conflicts.
- Facilities and property teams can confirm room names, use, access routes, wall conditions, and maintenance needs.
- Accessibility or code consultants can review applicable standards and flag items that require interpretation or project-specific confirmation.
- Architects and designers can coordinate the sign locations with door swings, wall elevations, finishes, and the broader wayfinding plan.
- Construction managers and general contractors can confirm when walls, doors, and finishes will be ready for field verification and installation.
- Brand, communications, and procurement teams can approve terminology, visual consistency, specifications, and vendor responsibilities.
For healthcare, education, municipal, or multi-site projects, identify an approval owner for each decision. That person should collect feedback, resolve conflicting requests, and issue a controlled final sign schedule. This avoids having fabricators or installers work from different versions of a plan.
How should the team audit restrooms and user routes?
Begin with a site walk and a room-by-room inventory. Record the location, door orientation, approach route, mounting surface, existing sign, and any obstructions at each restroom. Include the route from the building entrance or primary public areas to the restroom, not just the last few feet at the door.
In brief: A useful site audit records where visitors need information, what the sign must say, and whether the intended mounting area is usable. Verify conditions in the field instead of relying only on old drawings.
- List every room. Use room numbers or another unique identifier so the sign schedule can be checked against plans and site observations.
- Confirm the official room designation. Record the wording approved by the owner and note whether the room is single-user, multi-user, or intended for a specific facility function.
- Trace the visitor route. Note key decision points where directional information could help, including intersections, elevators, and changes between wings or floors.
- Check the entrance conditions. Observe door swing, hardware, nearby fixtures, adjacent signs, and the available wall area. Record details that may affect sign placement or access.
- Photograph and measure. Take reference photos and field measurements for the project team. Confirm exact mounting locations and dimensions against applicable requirements before fabrication.
- Identify exceptions. Flag unusual layouts, shared corridors, historic finishes, or rooms where a standard detail may not work as intended.
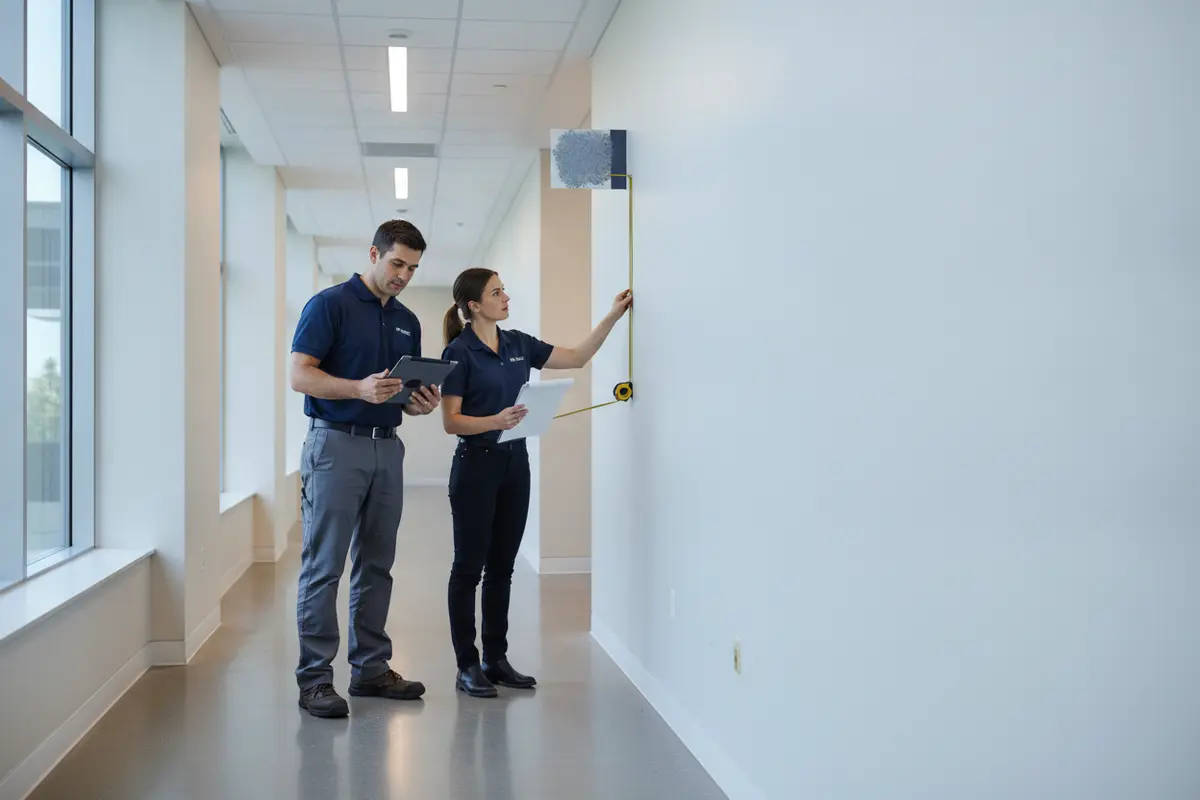
For a large campus or portfolio, use the same inventory fields at each site. A common data structure makes it easier to identify missing signs, compare room naming, and track approvals. It also gives installers a clearer field reference when the work is phased or spread across locations.
Include a decision log alongside the inventory. For each location, note who confirmed the room name, who reviewed accessibility, and whether the final position has been checked in the field. Record open questions rather than treating them as approved assumptions. If a doorway has limited wall space or an unusual approach, note it for the design and code reviewers. This small discipline helps the project team distinguish standard conditions from exceptions that need individual attention.
During the walk, review the visitor's view as well as the installer’s access. Check whether a person can locate the sign from the intended approach and whether nearby information could compete with it. The site record should capture practical constraints without substituting for a formal compliance determination. A clear audit becomes the shared reference for design review, production quantities, installation planning, and final acceptance.
Which restroom sign options should the project compare?
The right specification depends on the room, surrounding finishes, environmental exposure, facility standards, and maintenance plan. Compare options using a written schedule rather than selecting each sign in isolation. The table below is a planning framework, not a substitute for an accessibility review or a project-specific specification.
| Option or decision | Where it may fit | Planning points |
|---|---|---|
| Room identification sign | At a permanent restroom entrance | Confirm required wording, tactile and visual features, braille, and exact placement against applicable criteria. |
| Directional sign | At a corridor junction or route decision point | Use clear direction and consistent naming; assess route visibility and whether additional signs are needed. |
| Interior wayfinding sign | In a larger facility or campus | Coordinate terminology, arrows, location references, and visual hierarchy with the full wayfinding system. |
| Material and finish | Across all sign types | Compare durability, cleanability, legibility, finish compatibility, and the owner's maintenance expectations. |
| Mounting method | At each verified sign location | Check the substrate, attachment method, wall finish, installation access, and any restrictions from the project team. |
- Visual character and contrast: Review character size, legibility, and contrast in the actual viewing environment. A color choice that looks clear on a computer screen may be harder to read under site lighting or against a textured wall.
- Tactile information and braille: Verify that the selected construction and layout can deliver the required raised characters and braille where applicable. Review a production sample or proof when the project process calls for it.
- Pictograms: If pictograms are included, confirm their use, proportions, and accompanying text against applicable criteria and owner standards. Avoid relying on a symbol alone when visitors need a clear room designation.
- Finish and upkeep: Select a finish that fits the facility and its cleaning routine. Establish how replacement signs will match the original program if a room or sign is later changed.
Material comparisons should account for the full life of the sign, not appearance alone. Teams may compare fabricated panel systems, engraved or layered constructions, and other suitable sign formats based on project requirements. Discuss durability, edge details, cleaning products, attachment, and consistent reproduction across a rollout with the sign project partner.
How should accessibility, wording, and placement be reviewed?
Accessibility review should happen before the artwork is released for production. Check the applicable edition of the ADA Standards, state and local requirements, project specifications, and the authority having jurisdiction. The federal ADA resource is a starting point, but the project team remains responsible for confirming what applies to its building and scope.
Use a controlled sign schedule that lists each location, exact message, sign type, finish, and review status. Keep directional messages distinct from room identification messages. Confirm terms with the facility owner, especially when room use or naming differs across buildings.
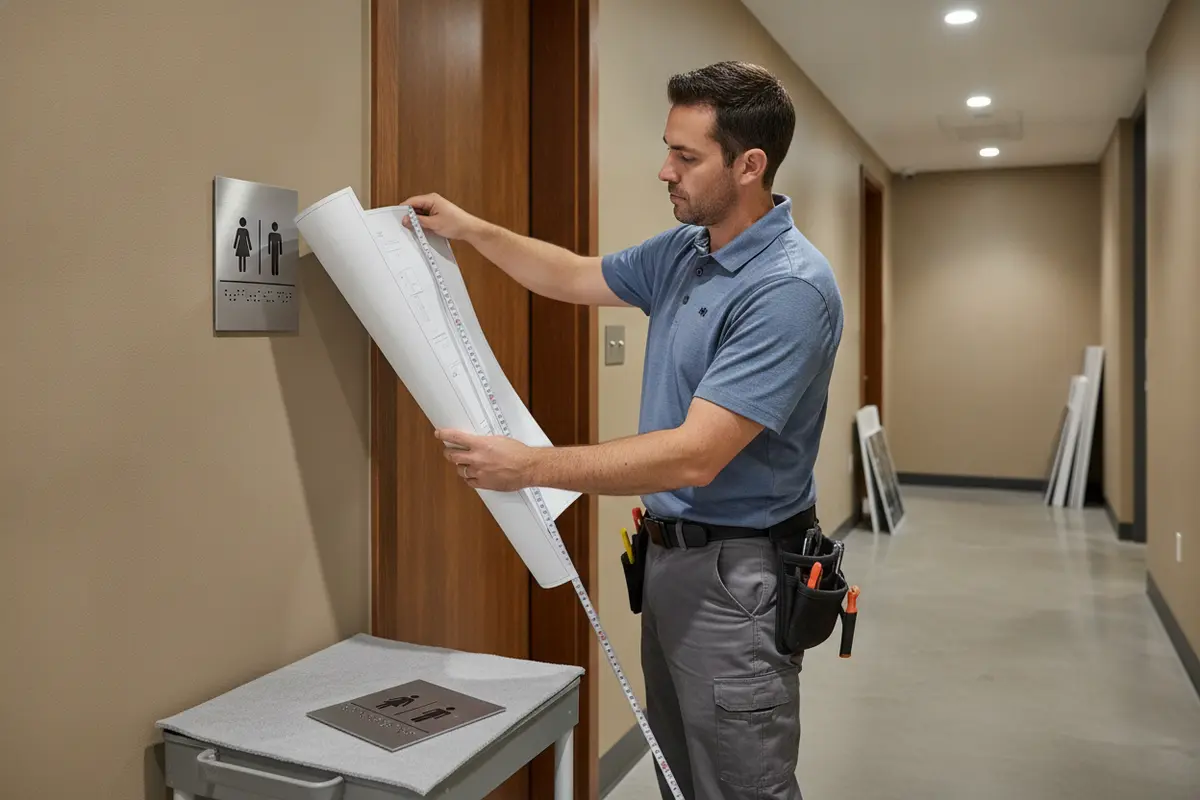
Placement must be considered at each door, not copied blindly from a typical detail. Door swings, nearby fixtures, wall returns, and available clear space can affect where a sign can be installed. The design and field teams should coordinate on the location and verify measurements before the signs are fabricated. If the site condition does not match the drawings, pause and obtain direction from the responsible project reviewer.
In brief: Approve the message, sign construction, and placement as one coordinated package. Keep a record of the standard or project detail used, who reviewed it, and any field-approved variation.
For facilities with broader navigation needs, coordinate restroom identification with corridor directories, floor identification, and room signs. A consistent system reduces uncertainty for visitors. Teams can review office sign planning considerations and our guide to office signage when setting the surrounding program.
How do permits, fabrication, and installation affect the plan?
Interior restroom signs may not follow the same permitting path as exterior or illuminated signs, but teams should not assume that approvals are unnecessary. Confirm scope and submittal responsibilities with the project owner, design team, and applicable jurisdiction. Construction documents, accessibility review, procurement requirements, and site rules may still require formal sign-off.
A coordinated project sequence typically includes:
- Scope and inventory: Define which restrooms and related route signs are included, at which facilities, and under whose responsibility.
- Standards review: Confirm applicable accessibility criteria, local requirements, owner standards, and required reviewers.
- Field verification: Check locations, dimensions, surfaces, and access conditions before finalizing production details.
- Submittal approval: Review the sign schedule, messages, materials, finishes, mounting details, and samples or proofs as required.
- Fabrication and quality checks: Produce from the approved information and verify counts and identifying details before delivery.
- Installation and closeout: Coordinate access and sequencing, verify completed locations, document exceptions, and provide final records to the owner.
For new construction, sign installation should be coordinated with wall finishes, door hardware, punch-list work, and access to the facility. For an occupied building, identify work windows, visitor routing, and who will maintain safe access during installation. A single accountable partner can help align design, permitting coordination, fabrication, installation, and service across the project. Learn more about commercial sign installation and signage project services.
How can multi-location organizations keep bathroom signs consistent?
Consistency starts with a repeatable standard and a reliable record of what has been installed. A multi-site program should define approved terminology, sign layouts, materials, finishes, and review steps. Keep the standard flexible enough to account for different building conditions, but document every approved exception.
- Use one master sign schedule with a site identifier and unique room reference for each sign.
- Set an approval workflow for accessibility, facilities, brand, and construction stakeholders.
- Maintain a controlled library of approved sign details and production files.
- Record field changes and approved deviations instead of silently revising local files.
- Plan replacement and future additions so new signs can match the established system.
At a campus or health system, the wayfinding system may extend beyond restrooms to patient destinations, offices, public areas, and entrances. Restroom signs should use terms that match the language elsewhere in the facility. Organizations planning a wider healthcare program can also review this hospital signage planning guide.
For a facility group operating across regions, clarify who owns local site access, field verification, permits or approvals, and final acceptance. A project manager should communicate open questions early and maintain a clear log of decisions. This helps reduce duplicated effort and supports brand consistency from one location to the next.
What should a restroom signage project brief include?
A focused brief gives the team the information needed to define the work and prepare a useful consultation. Include:
- Facility name, address, building type, and project contacts.
- Whether the work is new construction, renovation, replacement, or a multi-location rollout.
- A restroom inventory, available drawings, photographs, and known site constraints.
- Approved room names, directional messages, and any terminology standards.
- Accessibility, code, owner, brand, and procurement requirements already identified by the project team.
- Preferred materials or finishes, when established, and expected cleaning or durability needs.
- Review stakeholders, required submittals, access conditions, and project milestones.
- The desired scope for design coordination, permitting support, fabrication, installation, and ongoing service.
A complete brief does not need to resolve every technical question. It should make known conditions visible so the right reviewers can address them before fabrication. For inspiration on integrated projects, browse the signage project portfolio and compare relevant capabilities with your scope.
Discuss your restroom signage project with Carolina Signs and Wonders before the sign schedule is finalized.
Frequently Asked Questions
Does every restroom need an identification sign?
Requirements depend on the applicable standards, building conditions, and project scope. The ADA Standards address signs identifying permanent rooms and spaces, including toilet rooms. Confirm the precise requirements for the facility with the project accessibility reviewer and authority having jurisdiction rather than relying on a general rule of thumb.
Are a restroom door sign and a directional sign the same thing?
No. A door sign identifies a room, while a directional sign helps visitors find it from another point in the building. A facility may need both types. The team should review each sign's purpose, message, and location separately.
Can we reuse an existing sign layout for a renovation?
Possibly, but first verify that the layout, messages, sign construction, and installed location still meet the project's applicable requirements. Field conditions and room use may have changed. Review updated drawings and inspect the site before reordering signs based only on an old file.
When should bathroom sign decisions be finalized?
Finalize sign messages, accessibility review, placement, and construction details before production. For construction work, coordinate the schedule with wall finishes, door installation, access, and other trades. Early review gives the team time to resolve conflicts before the signs arrive on site.
How can a multi-site organization manage consistency?
Use a controlled sign standard, master schedule, and documented approval process. Track each facility and room, record field changes, and use the same review process for replacements and new locations. A project manager can coordinate stakeholders and keep decisions visible across the rollout.
Request a free quote for your signage project and discuss the facilities, locations, and project requirements with our team.
Careful planning helps restroom signs support accessibility, clear navigation, and a consistent experience across the facility. Confirm the applicable requirements and field conditions before approving fabrication.


